Black 74.3/137 White 68.3/121
Gold 73.1/136 Yellow 72.0/133
Blue 70.6/132 Red 67.8/118
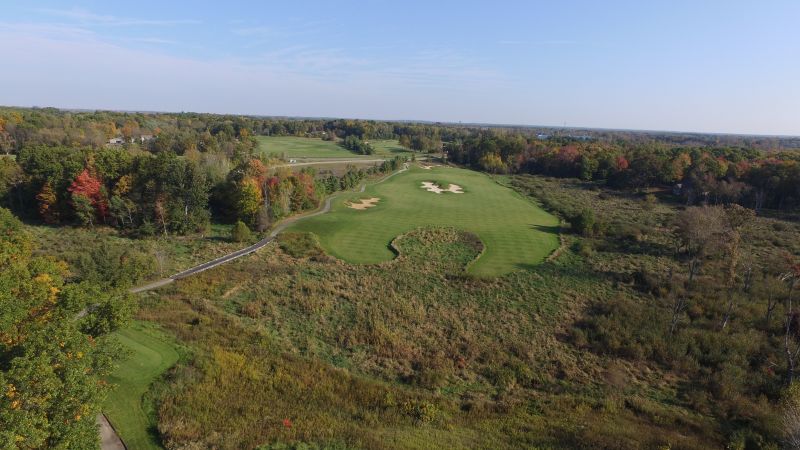
The Grande Golf Club offers 18 holes of great golf, including championship level course conditions and beautiful scenery. Take a tour of the course now, so you know what to expect when you come to play.

|
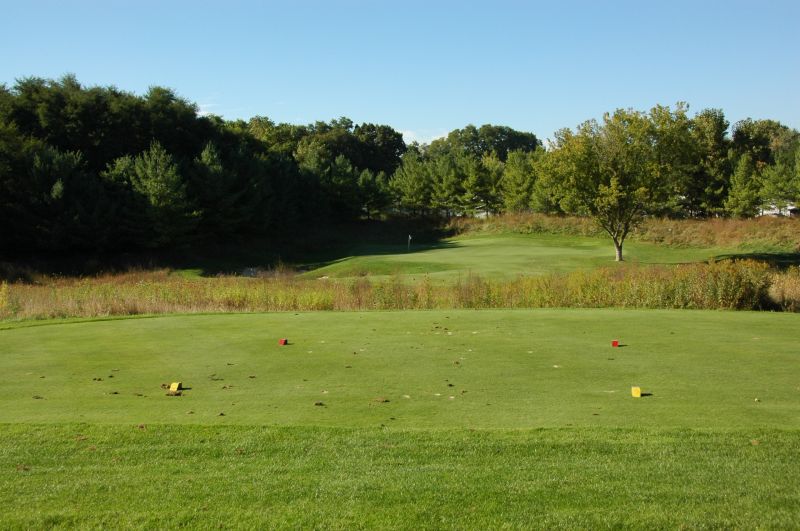
Considered the best practice area in |
-20210616084018.png)
|
A preview of your round at The Grande. We offer six sets of tees, for players of all ages and ability levels. This Par 72 layout plays as long as 7,174 yards or as short as 4,785 yards. This course offers breathtaking views and a challenge for beginners, scratch golfers, and everyone in between. Back to top |
|
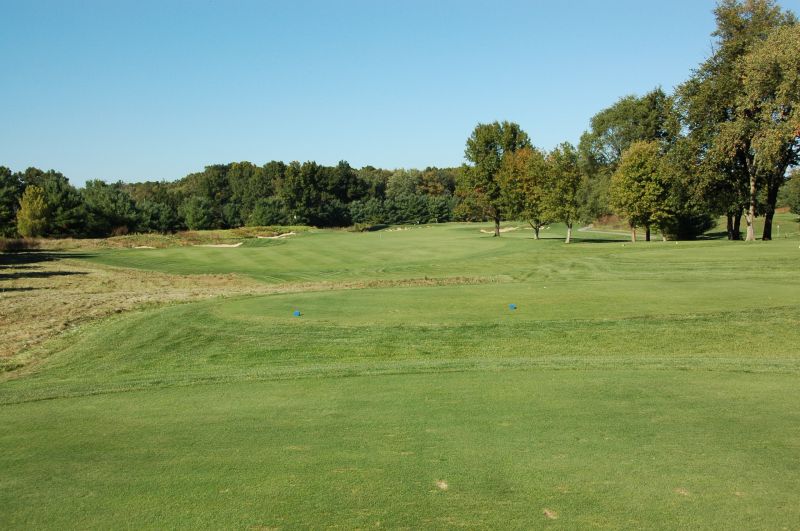
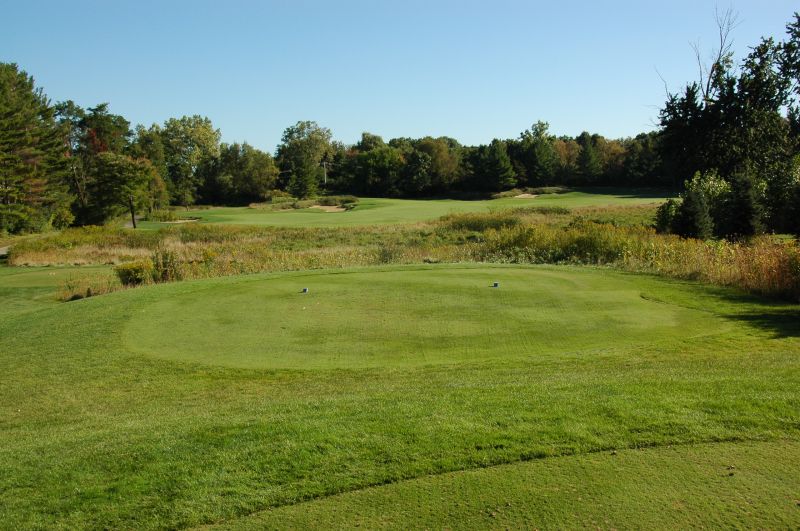
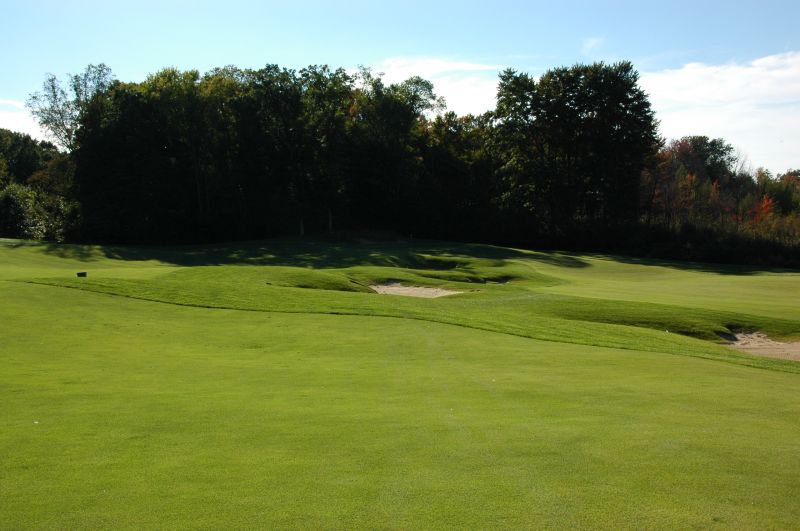
Striking a welcoming note for golfers at The Grande, this medium length Par 4 sets the tone for the ensuing round, both strategically and esthetically. Tee shots must take the right bunker into play, and a receptive bump and run avenue leads golfers into a massive and undulating green that invites a variety of shot trajectories. Back to top |
|
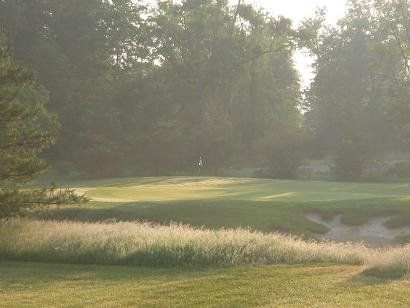
The Par 3 2nd Hole at The Grande seems innocent enough. However, native grasses just beyond the green make club selection very important. The front of the green is guarded by the deepest sand trap on the course. Check the wind, and choose your club wisely! Back to top |
|
Take dead aim at the 150-yard post on this Par 4. The tee shot is blind, but anything in the middle of the fairway will leave you a mid to short iron into this difficult green. Check the pin position before playing your second shot. Back to top |
|
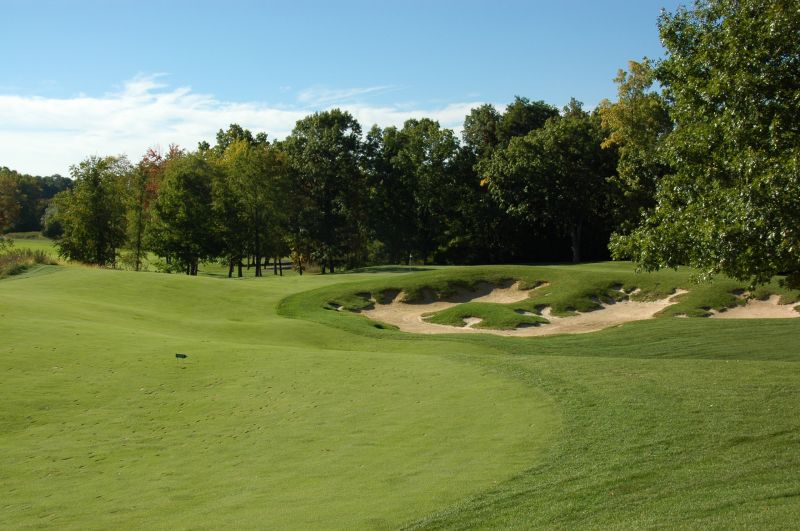
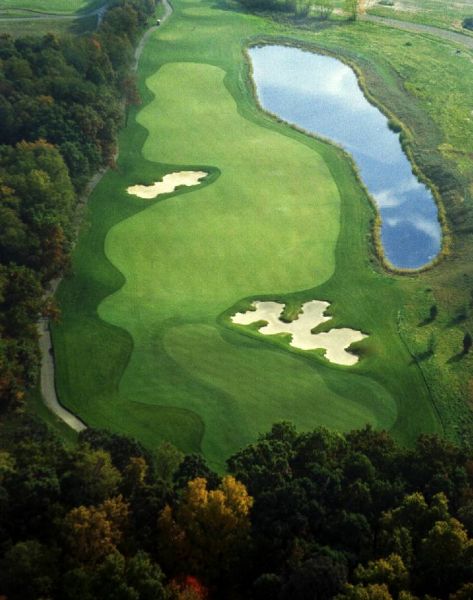
While this Par 5 is reachable in two shots, both will require considerable precision. Tee shots failing to hug the banked fairway high on the left side will be stymied by trees on the right. A narrow green framed by mature hardwoods makes any realistic opportunity for beating par contingent upon finding the correct plateau among the three available for pin placements. Back to top |
|
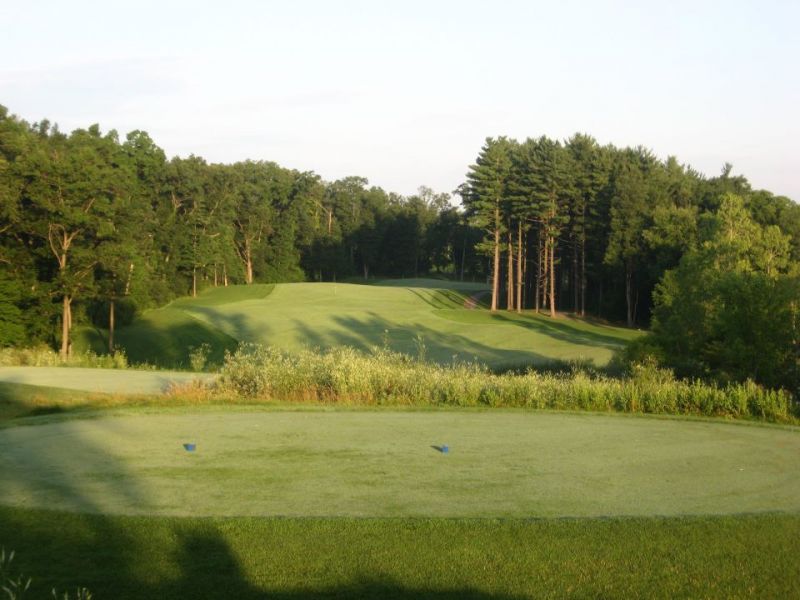
The shortest hole on the course. This Par 3 offers you a chance to build your confidence before a tough two-hole stretch ahead. However, be sure to check the wind here, as it has been known to be swirling and unpredictable. Back to top |
|
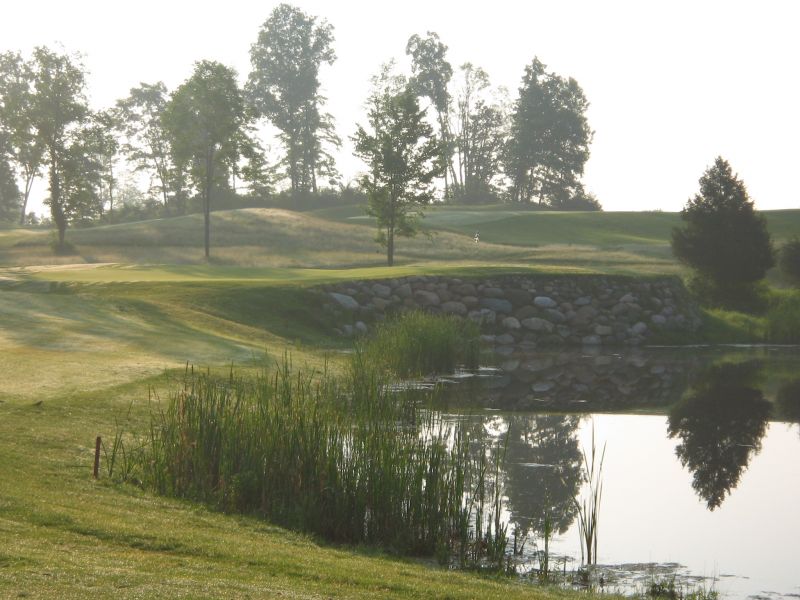
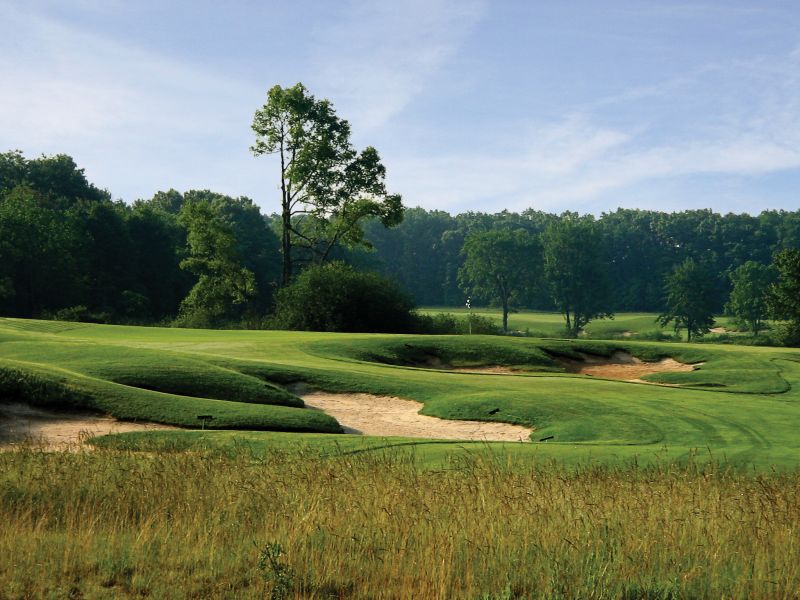
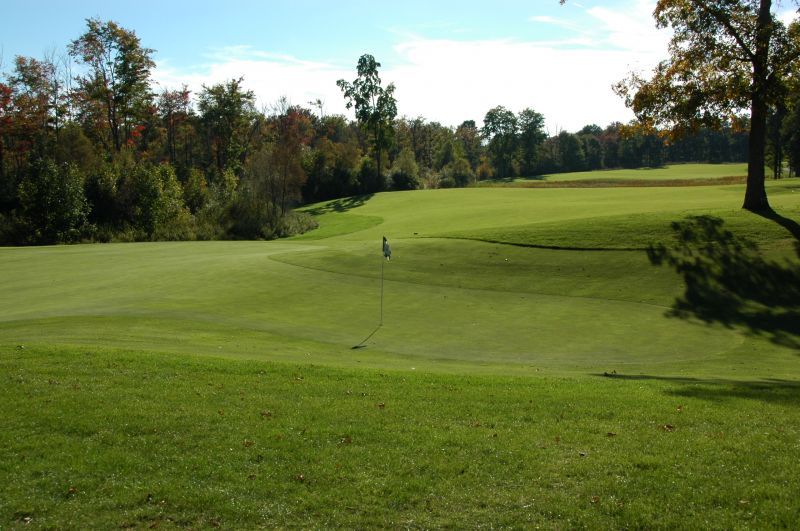
This Par 4 is short and scenic, but can be “testy” as well. The safer line for tee shots favors the left side of the fairway, but the ensuing approach shot poses a difficult perspective with a pond to the right and a bunker 35 yards short of the back-to-front pitched putting surface. Back to top |
|
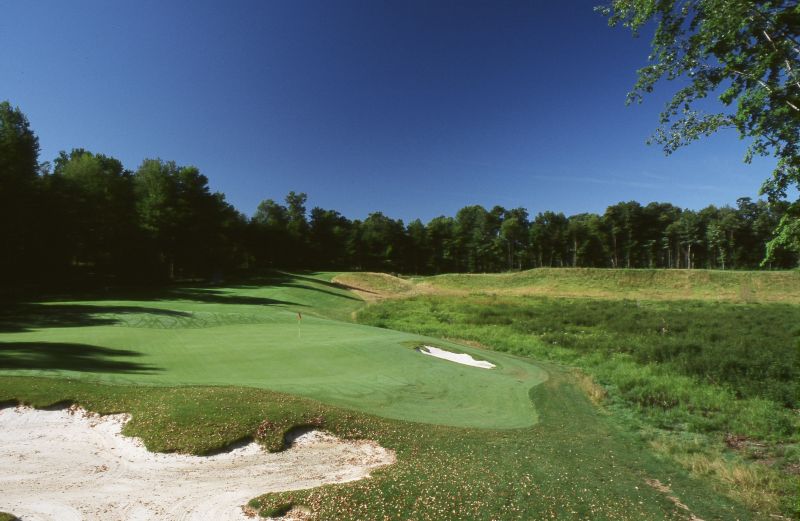
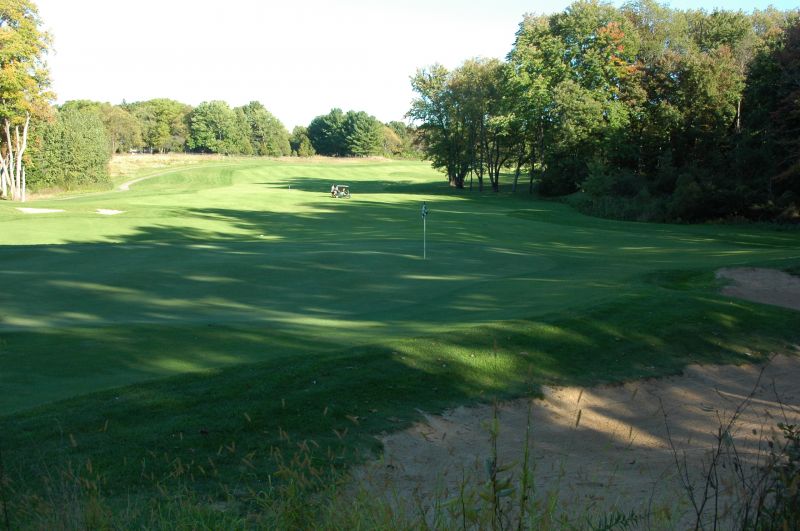
This challenging Par 4 requires a solid drive if you want to take aim at the pin on your second shot. The green has a large ridge in the center, so be sure to position your approach shot on the proper side of the green to avoid 3-putting. Back to top |
|
This hole, which you can see from US-127, allows longer hitters a chance of reaching the Par 5 green in two shots. If you can avoid the challenging greenside bunker on this hole, par or better is a real possibility. Avoid going long, as out-of-bounds comes into play beyond the green. Back to top |
|
You can cut off as much as you want on this Par 4, with some big hitters even taking dead aim at the green. However, the more you cut off, the more you bring the wetlands into play off the tee. Back to top |
|
From the tee, it looks treacherous. However, the fairway on this Par 4 is actually more generous than it looks. Long hitters can carry the bunker on the right, but the perfect shot is a fade around it and away from the pond on the left. An immense green sloping gently from front left to back right makes getting up and down problematic. Back to top |
|
Options. That’s what this daunting Par 5 is all about. Even the most conservative players face a substantial forced carry over wetlands from the tee, followed by increasingly daring targets throughout the rest of the hole on the way to an elevated green that slopes from back to front. This is a hole you can play a thousand times, and still be intrigued. Back to top |
|
Only the furthest forward tee on this beautiful amphitheater-shaped Par 3 exempts players from a carry over the wetlands. The putting surface, though multi-tiered, is large, deep, and receptive. Back to top |
|
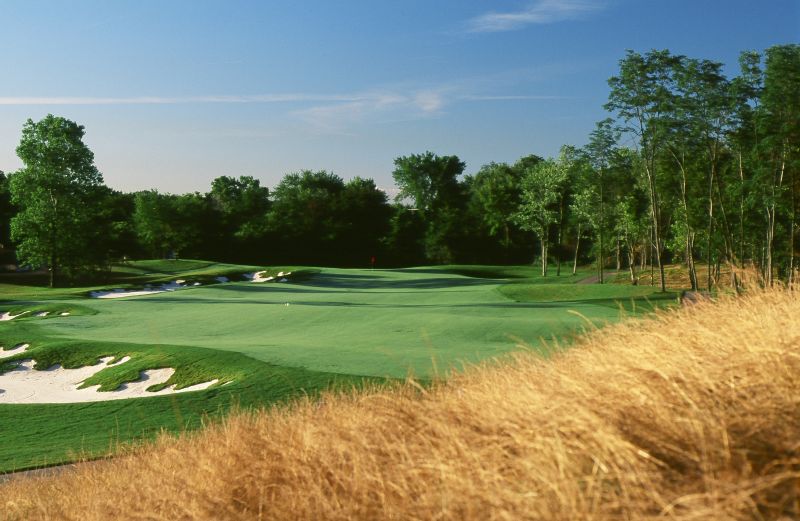
This unique Par 4 features a split fairway. Beware, because there are three bunkers, and numerous rough depressions, that run between the distinctive left and right tiers of this fairway. The green also has two tiers, mirroring the fairway, so you may want to check the pin position before teeing off. If the pin is on the left of the green, the easier approach shot is from the higher, left side of the fairway. If the pin is on the right side of the green, the easier approach shot is from the lower, right side of the fairway. Back to top |
|
You will have to decide which club to tee off with on this Par 5, as you may have to lay up short of the hazard from some tees. From the landing area, you have a long carry over the wetlands to the next landing area. If played correctly, you’ll be left with a short iron to the pin, which could be in the back left collection area. Back to top |

|
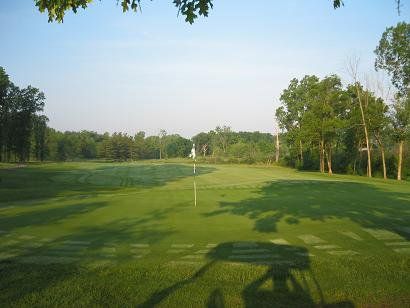
This short Par 4 gives you a chance to catch your breath before a tough stretch of finishing holes. This hole is a slight dogleg to the right, with a long and narrow green. Depending on the pin placement, this hole may be your best chance at birdie on the back nine. Back to top |
|
Considered the most challenging hole in |
|
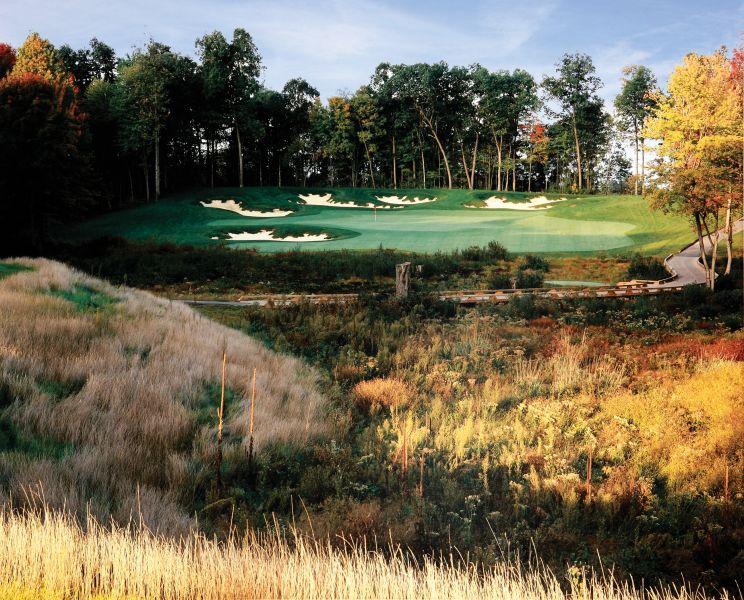
Simultaneously scenic and intimidating, this Par 3 features a considerable carry over wetlands, a significant change in elevation, bunkers and woods to avoid, and a spacious but slick green. Back to top |
|
Raymond Hearn designed a fairway as wide as a football field on this Par 4. The ideal drive should be played to the right side of this split fairway in order to avoid a blind shot into the green. Back to top |


